So we’re at tutorial 12 already!
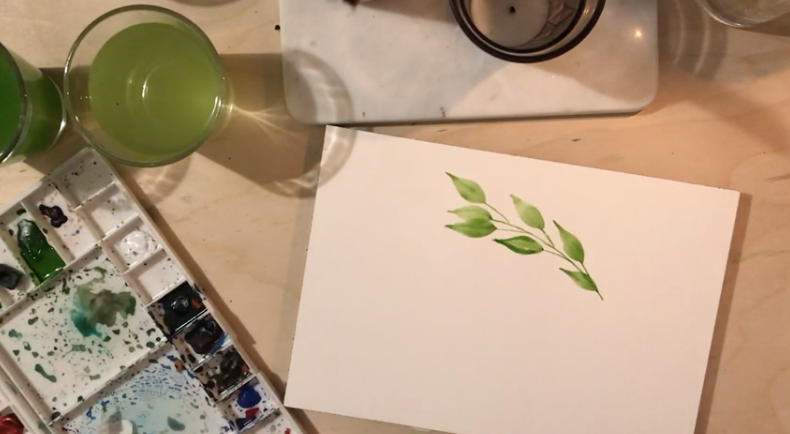
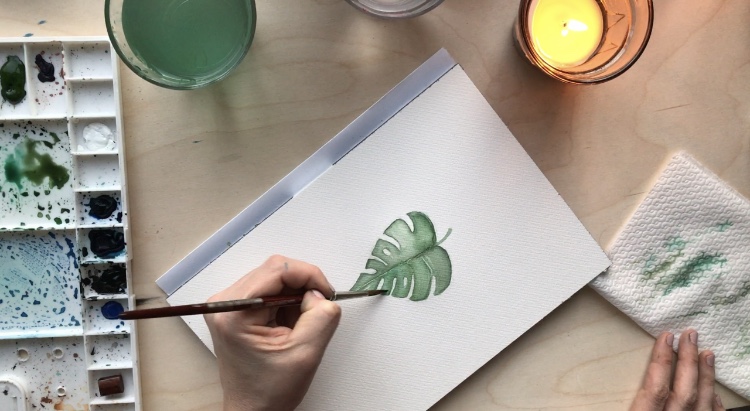
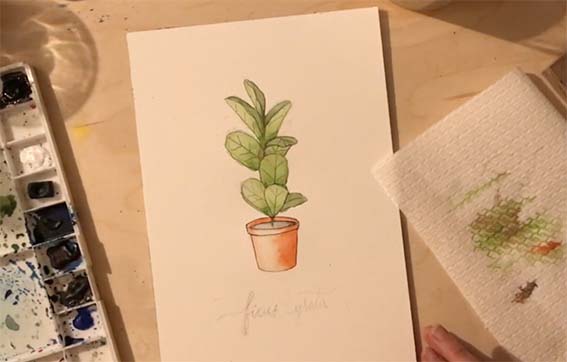
I ordered some plants for my apartment today, and one on them being a fiddle fig I decided to draw and paint one! I combined pen drawing with watercolour. Micron pens are great for this, because they’re waterproof and they dry very quickly, so you can do the drawing first and then straight away colour it in using watercolour.
So I sketched the plant first, then traced the lines with a Micron pen. I will explain how to draw the plant in another tutorial, as it would’ve been a really long video otherwise!
The most important technique here is the shading, so creating darker parts where the object that you’re drawing would have more shade, by using a lot of pigment in those dark parts and then just fade that pigment using just water on your brush to fill in the rest!
As you can see in the video today was a crazy hair day, haha! I’m not really used to filming myself while I work yet, so in some parts of the video the hair gets in the way! I’ve even had to edit out some parts where it was literally just my hair, haha, I’m sorry for that!
These are the supplies I used today:
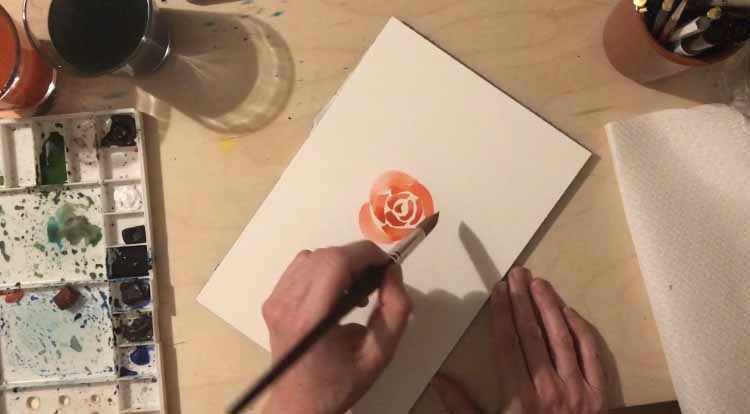
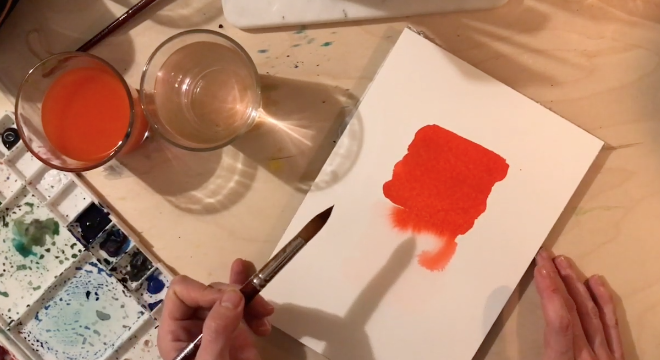
- Winsor & newton professional grade watercolour (Scarlet lake, Sap green, yellow ochre and Mars Black) For the leaves of the plant I used Sap Green mixed with some Mars Black in the darker spots. The terracotta colour of the plant pot you can get by mixing Scarlet Lake and Yellow Ochre in equal parts.
- Size 6 synthetic kolinsky brush
- Cold pressed watercolour paper
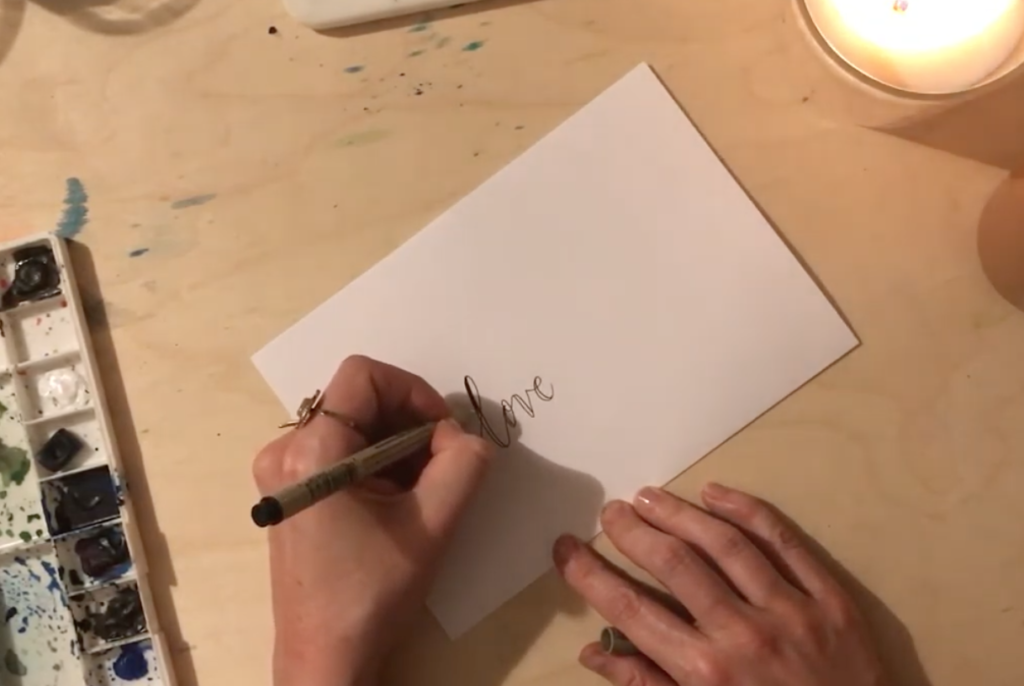
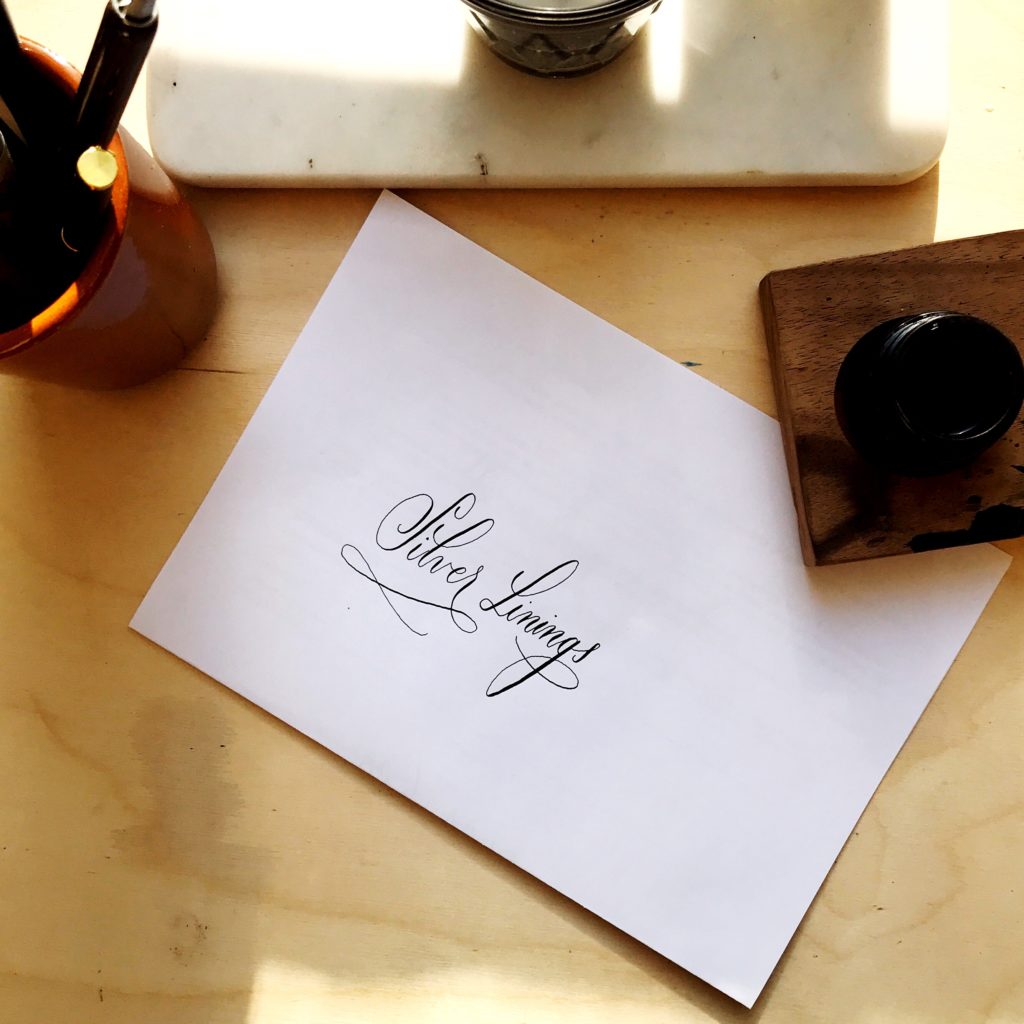
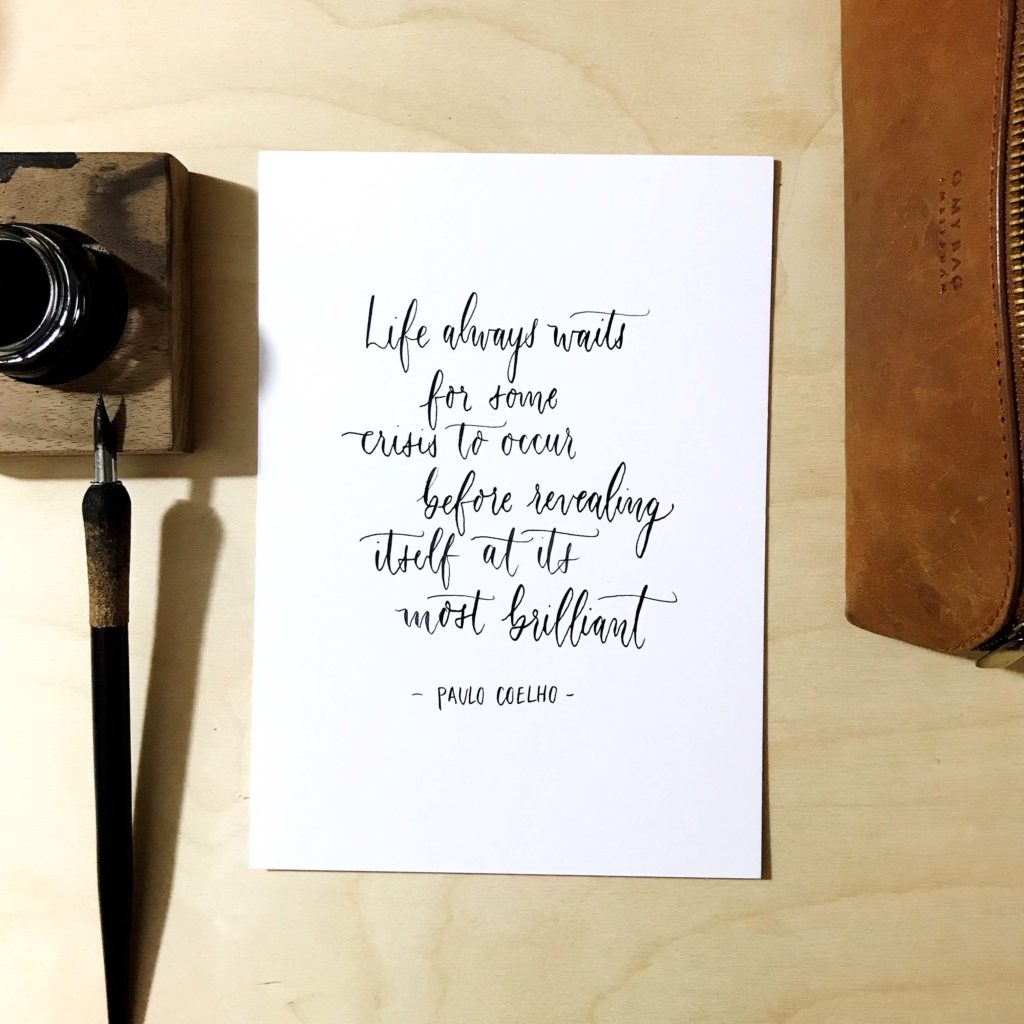
- Micron pen size 01
- Sumi ink
- Brause Steno nib
I hope you enjoyed this one. If you haven’t signed up for the tutorials in your mailbox yet then you can do so below. Take care and stay safe!
Lots of love,